

Blog
How to Apply Tape-In Extensions at Home: Step-by-Step

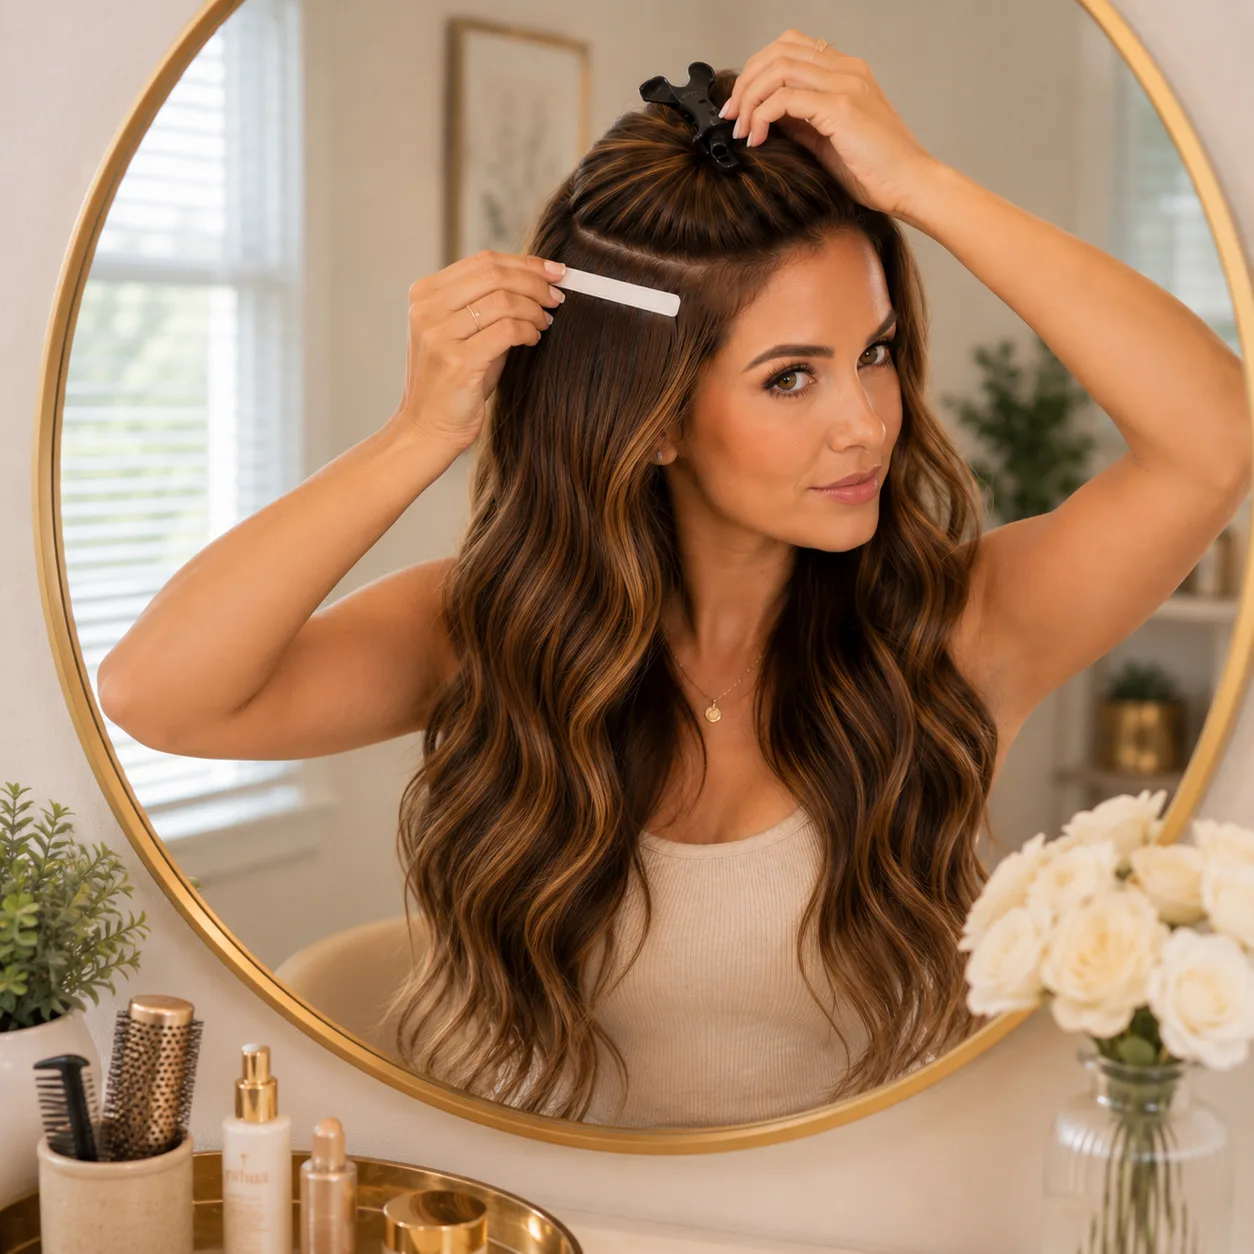
Tape-in extensions have a reputation for being a salon-only job, but a well-designed system is genuinely doable at home once you know the sequence. Truly Seamless tape-ins are built to bond directly to your own hair above and below the part — no second synthetic weft sandwiched in the middle — which actually makes home application more forgiving, not less, because there’s less bulk to line up.
Here’s the process from start to finish.
What you’ll need
- Your Truly Seamless tape-in wefts (Double-Sided or Single-Sided, matched to your hair’s natural texture and color)
- A rat-tail comb for clean, straight partitions
- Duckbill or butterfly clips to hold sectioned hair out of the way
- A mirror setup that lets you see the back of your head (a handheld mirror plus a wall mirror works well)
Step 1: Start with clean, dry, product-free hair.
Any oil, conditioner residue, or dry shampoo buildup at the root will weaken the tape’s hold before it even gets a chance to set. Wash the day of or the day before, and skip root-area products entirely on application day.
Step 2: Section from the nape up.
Start at the bottom of your head and work upward in thin, horizontal sections — roughly a half-inch to one-inch parts. Clip the rest of your hair up and out of the way so you’re only working with one clean section at a time.
Step 3: Place the first weft close to the scalp.
Peel back the protective liner and press the tape weft flat against the underside of the section, about a half-inch above the root — close enough to lie flat and undetectable, but not so close that it touches the scalp itself. This is the key mechanical difference from the traditional “sandwich” method: instead of clamping a second weft on top, Truly Seamless bonds directly to a thin layer of your own hair pressed down on top of the tape.
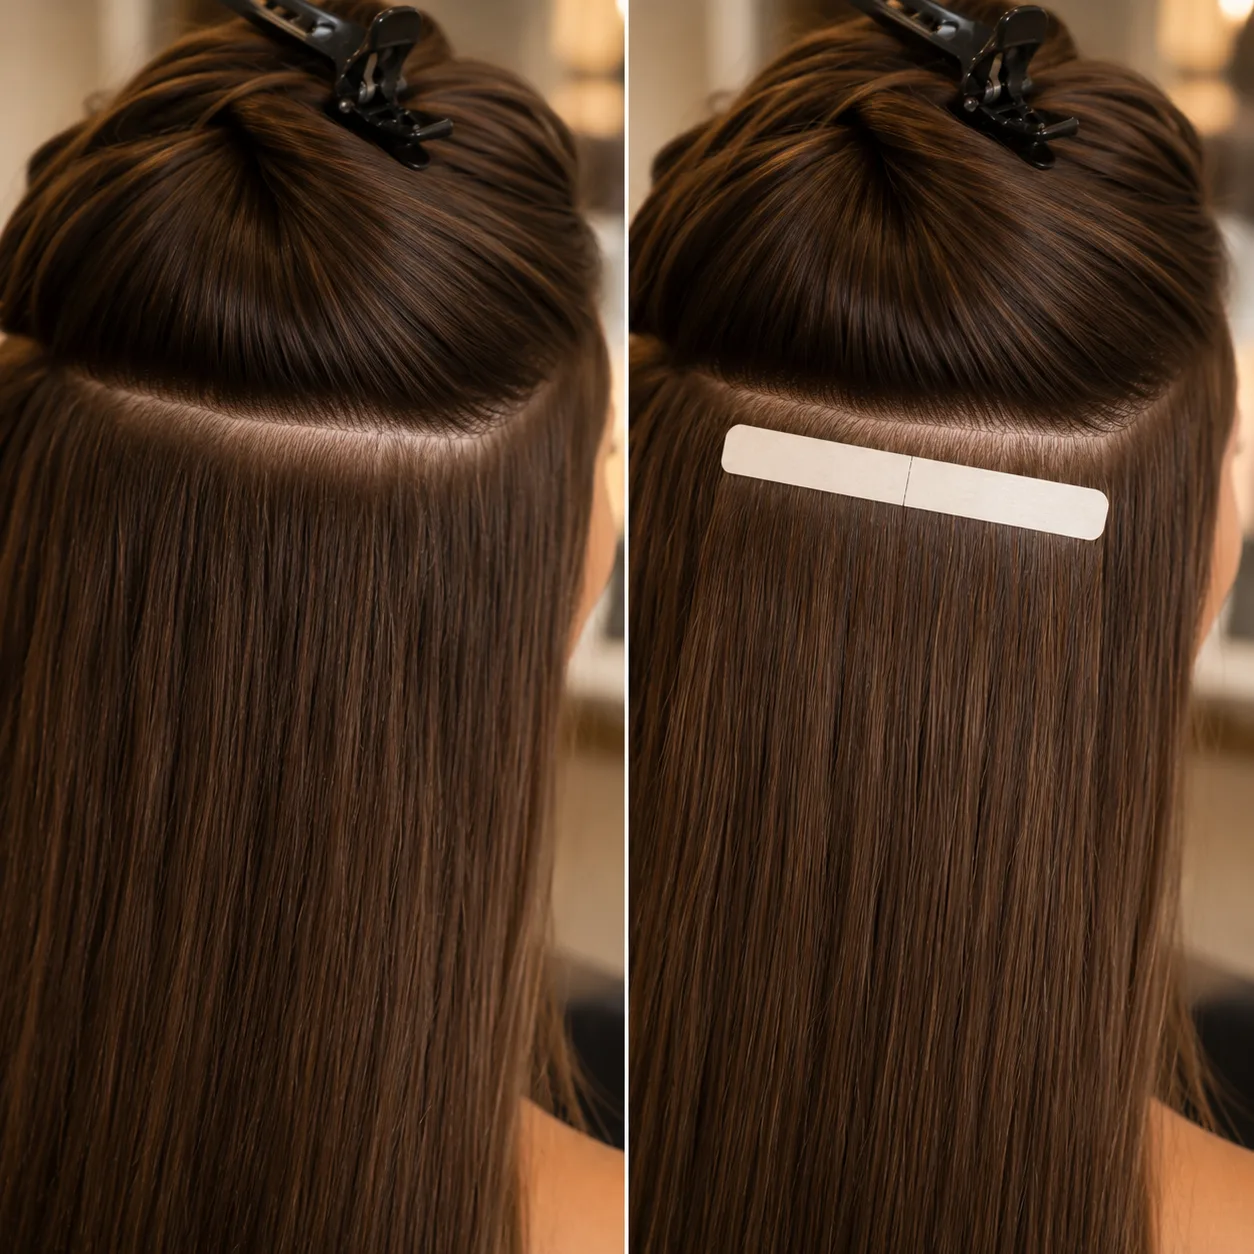
Step 4: Press and hold.
Once the weft is placed, press down firmly along its length for 15–20 seconds. The tape is temperature-activated by the warmth and pressure of your fingers, so a rushed press is the most common reason a weft feels loose later.
Step 5: Repeat in a straight horizontal line.
Continue placing wefts across the same section, keeping each one level with the last so the row reads as one continuous line rather than a stair-step. Move up about a half-inch to an inch and start the next row, alternating your part slightly from row to row so no single line of tape stacks directly on top of another.
Step 6: Check the crown last.
The top sections near the crown are the most visible, so save them for last once your hand and eye are warmed up, and use noticeably thinner sections here for the most seamless blend.
A few things that make or break the result
- Rushing the press step is the #1 cause of early slippage — hold each weft the full 15–20 seconds.
- Placing wefts too close to the scalp can cause discomfort as new growth pushes the bond outward faster; a half-inch gap gives room to grow.
- Keep rows level — uneven spacing is the most common visible tell of a home application versus a salon one.
Done correctly, a Truly Seamless application should feel flat against the head with no doubled-up bulk at the root — that’s the direct benefit of skipping the sandwich method. For full aftercare (washing, sleeping, and styling once your tape-ins are in), that’s covered in a separate post — for now, you can browse both weft types, Double-Sided and Single-Sided, or see the full lineup on our shop page.
If you’re new to tape-in application generally, the Professional Beauty Association has consumer resources on working with a licensed stylist if you’d rather have your first application done or checked professionally.